
The Inspiration…
When Peter Stone Model Horses announced their theme for the 2025 Stone Art of the Horse contest - “Harmony” - I first thought was a quote from the animated TV show Avatar: The Last Airbender: “Once upon a time, the four nations lived together in harmony.” Put simply, the show centers around characters from the four nations: Water, Earth, Fire and Air - which include some humans with special powers to “bend” the elements. (It’s an amazing show, you should totally watch it if you haven’t already!)
So I thought - why not make a horse medallion to represent each element (Water, Earth, Fire and Air)? I’ve been experimenting with clear resin colored with alcohol inks in my medallions and other resin pieces, so I could incorporate this technique to show the different elements in colors.
The Beginning…
To start, I sketched the designs. I decided “air” would be represented by a jumping warmblood, “earth” would be a grazing draft horse, “water” would be a running Arabian, and “fire” would be a spicy bucking pony. I wanted the sculpts to represent the elements as well as the colors of the backgrounds.
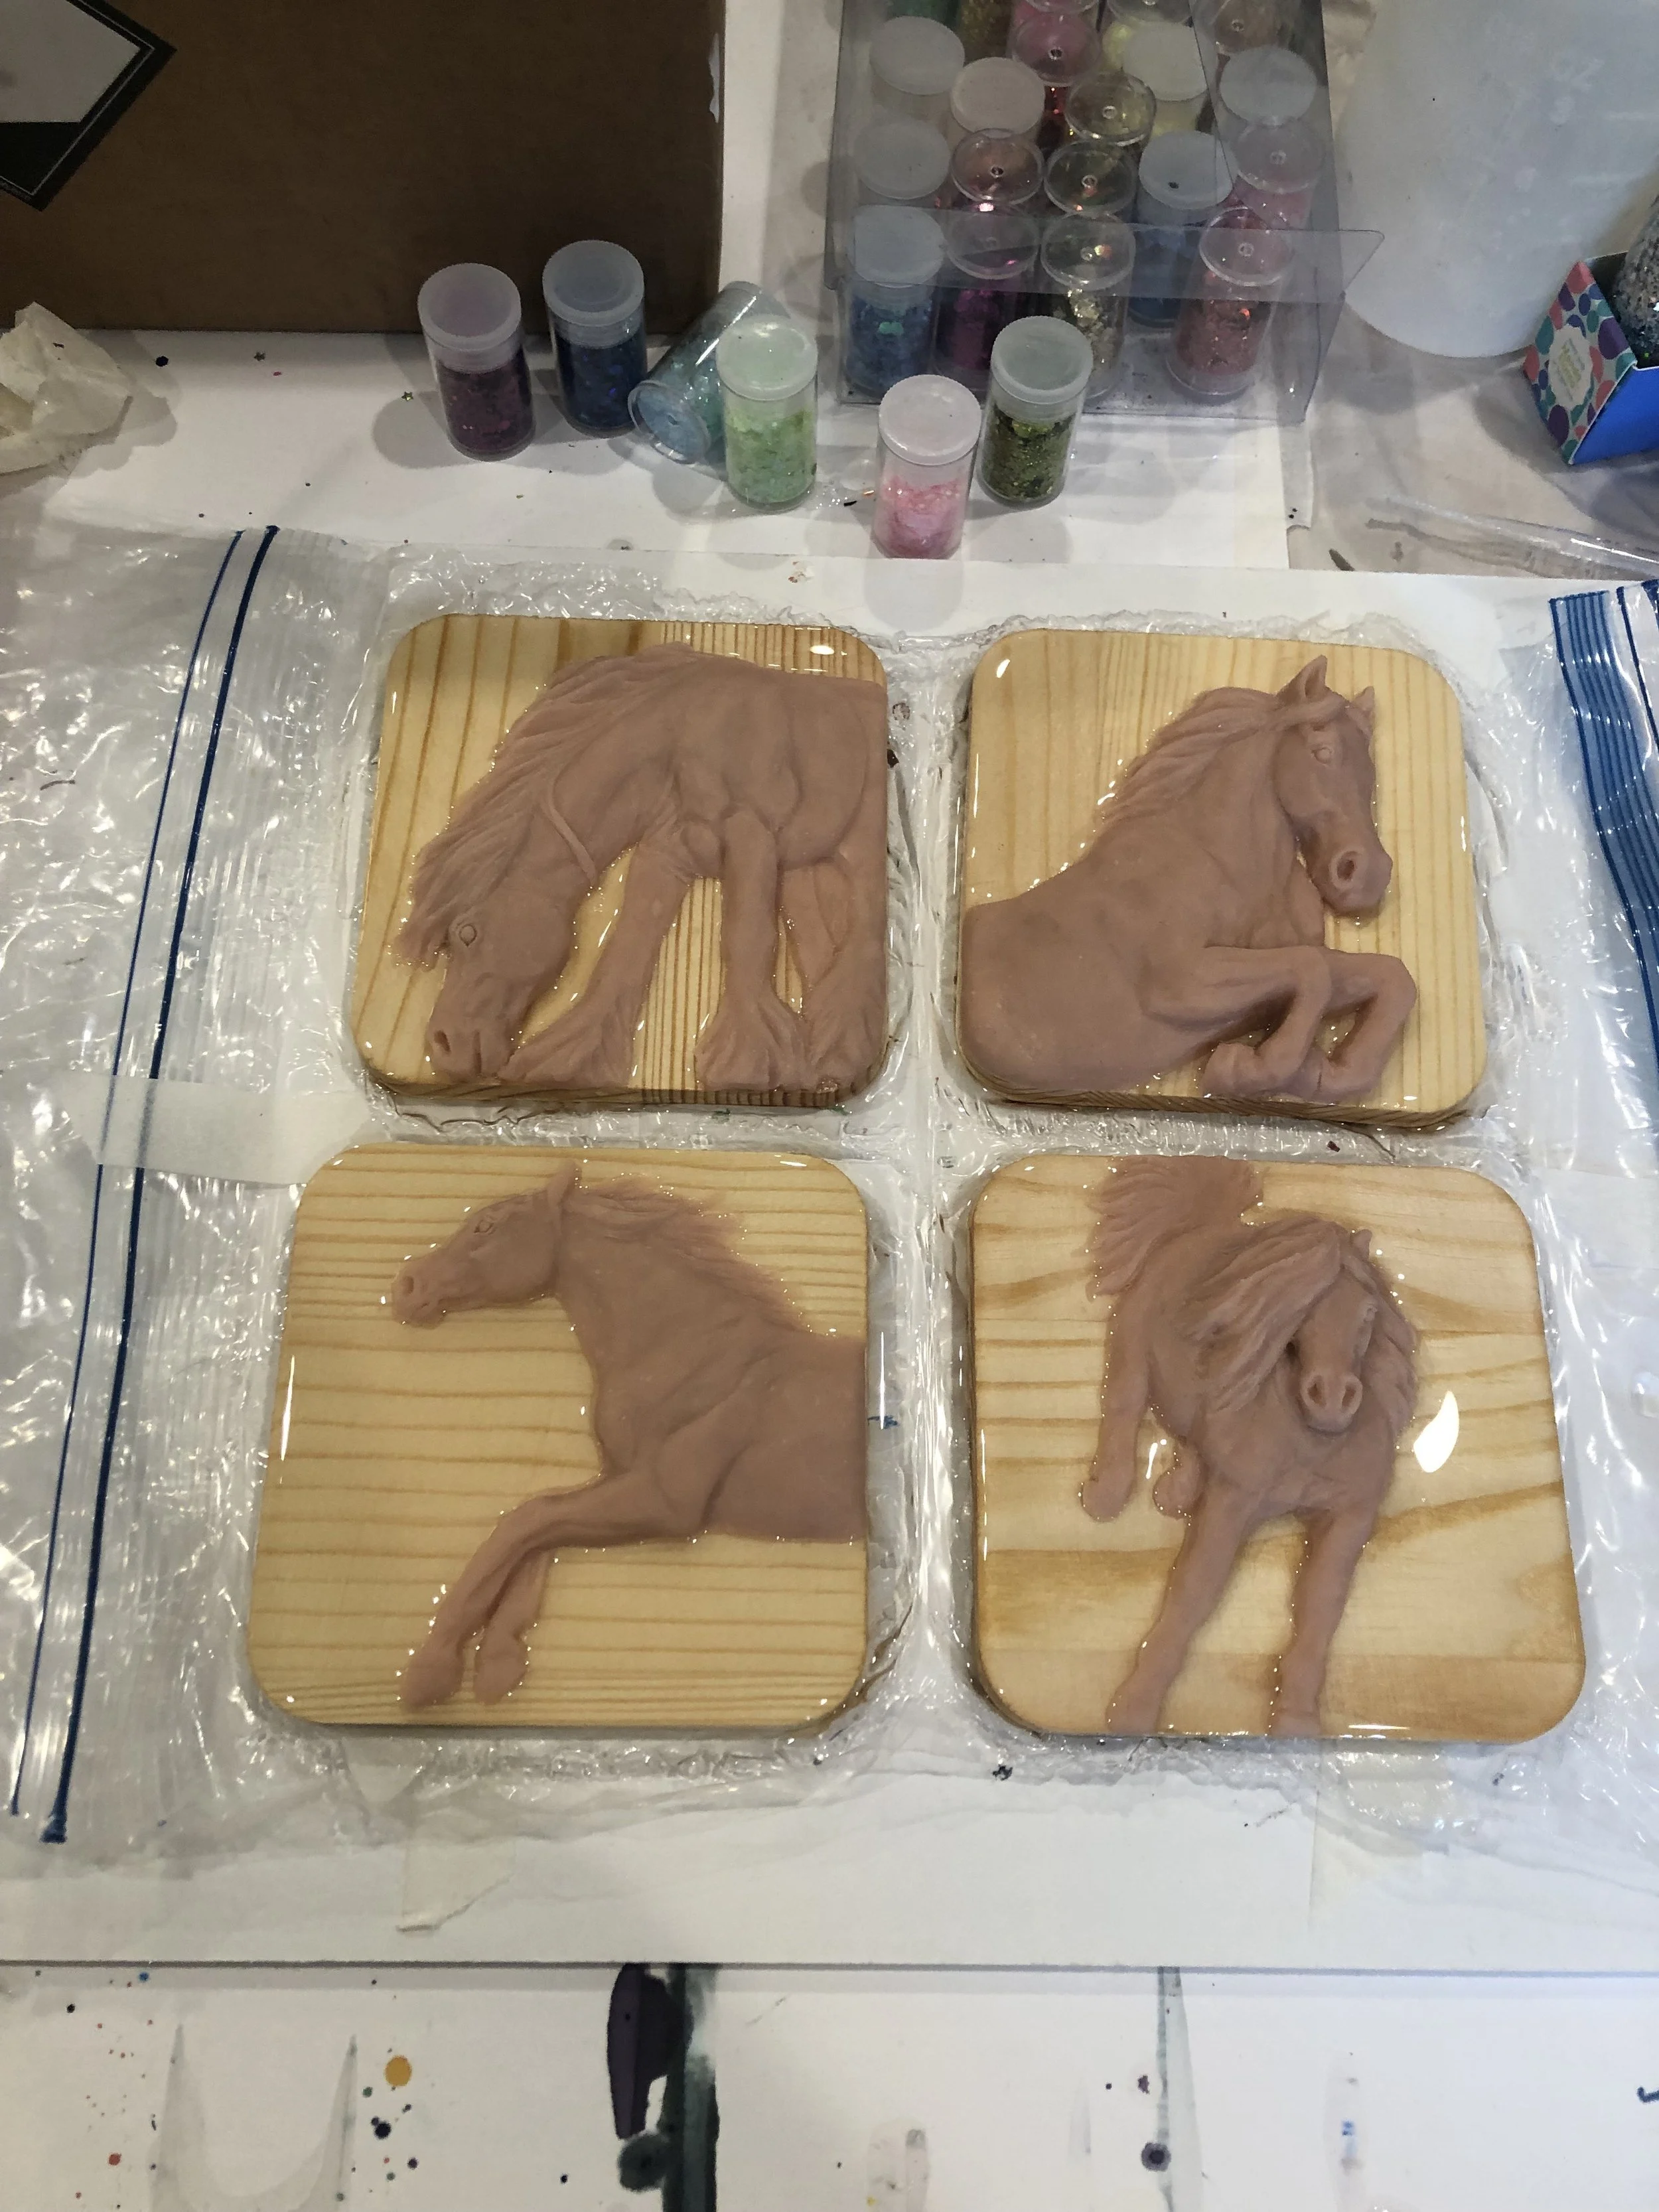
I’m still figuring out what clays to use for the initial sculpt… For this one, I used sculpey on wood backgrounds (which were “coasters” I picked up at Michael’s), so I could bake and cure the horse parts of the sculpt. See the sculpting process on the Earth medallions below to get a sense of how it started and ended up.


Making the Molds…
I’ve made molds for various projects over the years. Because I was hoping for a smooth background, I used resin to cover the wood in the background of the sculpts after baking the clay - this didn’t do me much good - but more on that later.
I use Mold Star 15 from Reynold’s Advanced Materials to make my molds. After hot-gluing the finished sculpts into tupperware, I sealed them with the mold sealer recommended by Reynold’s Advanced Materials. This created a weird texture on the pieces, so I’m planning on experimenting with not doing this step in the future….

Making the Elemental Medallions
After the mold rubber cures, I remove the molds from the tupperware containers. I start by casting plain white medallions, to get any gunk out of the molds.
It was at this point that I realized these molds were not going to work for to produce medallions for sale. The quality wasn’t there and there were too many bubbles. The background texture was also weird (due to the Mold Sealer) and the resin I had poured over the wood backgrounds had removed a lot of detail from the edges of the sculpts.
But - given that I had very limited time remaining to get my entry in for the Stone Art of the Horse 3D division, I decided to make my entry using these molds.
I cast these medallions using Art Resin, it’s a clear, 2-part epoxy resin that cures in 24 hours. I mixed colorant into the resin to make it dark and poured just the horses. After waiting about 18 hours for this to cure, I poured clear resin into the background portions of the molds on top of some glitter. Using alcohol inks and white alcohol ink “sinker,” I created the colors in the backgrounds.

I chose yellows and purples for the background on Air, not wanting it to look too similar to Water. For Water, blue, obviously. Fire got reds and oranges and Earth got greens and a bit of brown. It’s always hard to tell how they’re going to turn out. From the back, you can’t see how the colors are swirling in the mold. Plus - over the 24 hours of curing, the resin and inks move around.
Luckily, these turned out just fine for this project!
I did have to do some apoxie sculpt work and prepping on the horses, but then it was time for paint!
Painting the Medallions…
Because of the texture, I glossed the backgrounds. This sort of fills in the grooves in the matte texture and - well - makes them look glossy and smooth. I then went ahead and taped off the backgrounds so I could use airbrush and pastels to paint the horses, without impacting the colored backgrounds.

Once I felt confident that I was done with the airbrushing and pastels, I removed some of the tape to reveal the manes and tails, and finished painting those areas and sealed. Hooves, eyes and other details were last.
Finishing Touches…
Given the sort of rush I was in to complete these in time, I didn’t clean up the edges of the horses as much as I would have liked to. To give these guys a nice, clean look, I outlined the horses in black. This is partially to hide that rough edge, but it also provides a nice border between the horses and the colored resin background - and helps set the horses apart.
I also re-glossed the backgrounds since some of gloss got a little messed up in the painting process….

Final Notes…
Overall, this project went went great! I learned a ton. I’ve only ever produced one medallion at a time, so making four at once was quite an endeavor.
Because of significant bubble issues, I’ve invested in a pressure pot and a vacuum chamber for medallion casting going forward. I was also advised to do some resculpting and sanding work on the white medallions I cast out of the molds first, and then use these medallions to create new molds. I’m going to experiment on not using the mold sealer and see what happens.
Given the work that needs to be done, the plan is to have unpainted versions of these medallion designs available this summer. How exciting!! They will come in white and colored, and should be much easier to work with once I get my new equipment figured out, so stay tuned!