
What is “NaMoPaiMo”?
NaMoPaiMo stands for National Model Painting Month - founded by Jennifer Buxton on her blog many years ago. Each participant signs up to finish painting a 3D model horse during the month of February. It primarily takes place in the NaMoPaiMo facebook group, where everyone shares their successes and failures, and asks for advice and encouragement along the way.
For this year’s NaMoPaiMo, I chose to paint something very challenging for me - a pattern with everything: dapples, appaloosa markings, feathers, the works! I opted to paint Rayvin Maddock’s Cob resin produced by Stone Horses to a buckskin appaloosa.

The reference

The artist and her victim
The Beginning
I purchased this model with prepwork started, including primer, so I had minimal sanding to do. That said - I took a close look and made sure there weren’t any imperfections, seams, rough areas, and pinholes that needed to be taken care of before I began.

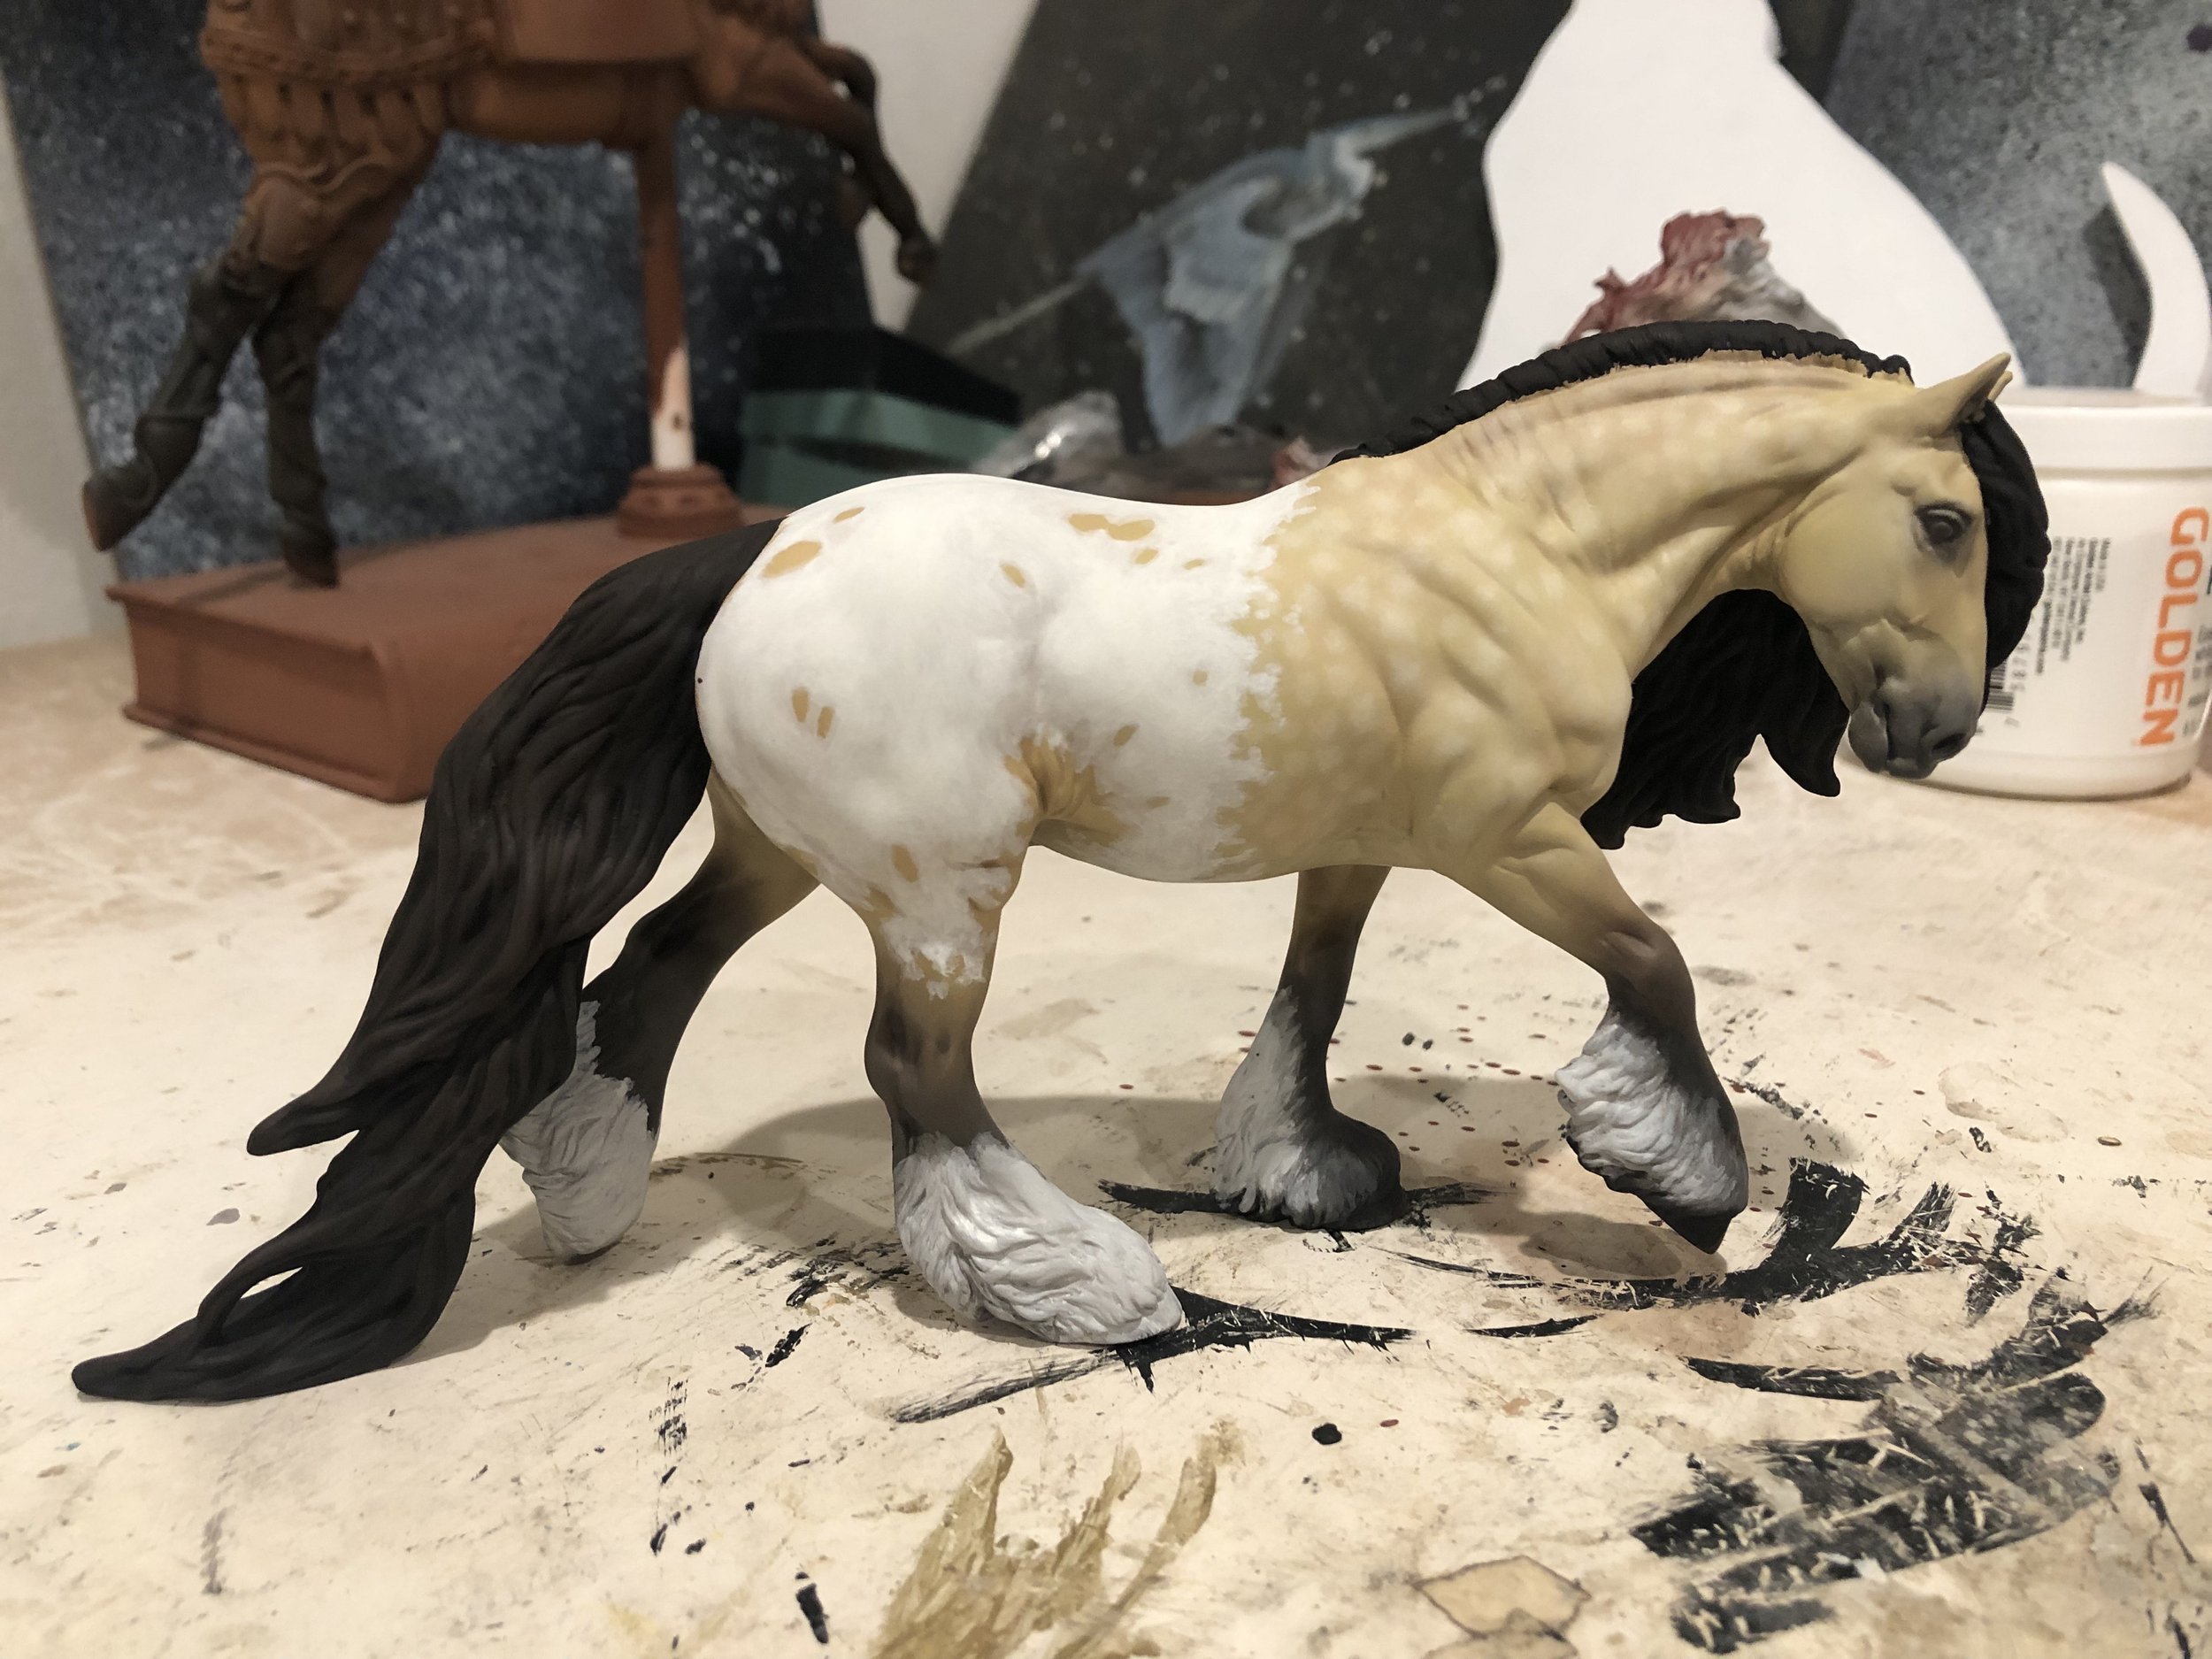
After the airbrush layer
I airbrush my first layers on model horses. It saves a ton of time to start with the model already having some color on them. That said - airbrushing is not my favorite - I can’t keep the darn thing clean and I always need to buy replacement parts.
In any case, I started by airbrushing the basic tan on the body of the model and the basic brown on the legs and a little on the nose. Something to remember about buckskins and palominos and any yellow-ish horse is that the color is generally a lot more brown-ish and red-ish than you might originally think. It’s very easy to start by mixing yellow with black (dark yellow = tan, right?) but then you end up with a very green-ish tone. Be sure to include brown and white in your mix and you’ll be on the right track.
The Oil Layers
For this model, I used oils to establish my body color and get some beautiful dapples. I find oils are the easiest to produce dapples with at this scale - although it definitely takes more layering and time than I might want.

Oils layers going on to create the dapples and body shading.

It took 4-5 layers of oils to get the body shading and dapples where I wanted them. I use the techniques I learned from a virtual class with Heather Bullock to paint models with oils. Put simply, you use very little paint, putting “films” of oils over the model and using a make-up brush to smooth and buff out the texture. When doing dapples, it involves a lot of dabbing tiny amounts of paint, tapping it with a small make-up brush and trying to make it look natural - I’m definitely still figuring it out, haha.
For this piece, I only did the dapples and shading toward the front end of the horse, because I was going to be adding a blanket pattern over the rear.
After the oils, I waited for it to dry completely before sealing, then moved on to working in acrylics and some pastels.
Acrylics
I use Jo Sonja acrylic paints for white markings, watered down. Even when I include blending gel I find I still get texture on my whites - so I typically will take some fine grit sand paper and gently sand the white areas until smooth, then paint again.

Layering the whites
It took a 10-15 layers of watered down white acrylics to get it opaque. It was silly of me, but I tried to paint around the darks spots in the blanket pattern. Ultimately, I gave up on this and just repainted them in with acrylics. It always looks better when I do it that way.
I also toned my white paint with some burnt umber around the flank and raw and burnt umber on the feathers to make them appear more natural, shaded and dirty.
The mane and tail are painted in acrylics. I shaded them quite a bit, but photographs don’t seem to capture the red tones as well.

Pastels
As I was nearing the finish line, I used some pan pastels to add some roaning around the blanket markings and smooth out some of the color transitions on the knees and hocks. I brush my pastel dust on, then use a keyboard cleaner air gun to blow off the excess, then seal with fixative.
Finishing Touches
More white marking layering, additional shading in the mane and tail, adding the white/pink mottling around the eyes, painting the eye… all of this took time to fiddle and get right. I try to reserve enough time for myself to do these details, because they really help bring a piece to life. And don’t forget the chestnuts!
The Result

The finished piece!
Overall, I surprised myself with how smoothly this went. I’m feeling more and more confident in my abilities to keep schedules and produce models on deadline. NaMoPaiMo is such a great time to remind myself what I can do, even when I feel like I may have bitten off more than I can chew with a project.